Kyoto by Hire Bicycle: The Definitive Day Trip Guide
Share
Seeing Kyoto by bicycle is the best way to take in this historic city. This detailed guide will show you where to hire a bicycle and exact routes to get you around the city. See multiple World Heritage sites and explore places most tourists will miss on the bus or train.
See Kyoto by bike
In this article:
Years ago when I first traveled Japan, I spent 3 weeks backpacker style, seeing cities by train or walking. I was so jealous of the hundreds of people I saw riding the city streets.
This is the article I wish I read - to show me how to hire a bicycle in Kyoto - before I first traveled to Japan.
Since then I’ve moved to Japan and own my own bicycle. Now when I travel to other cities, I usually hire a bicycle to easily get around.
My favourite place to hire a bicycle is Kyoto. Most of the iconic tourist sites are within easy riding distance, the city is relatively flat and the layout is an easy to navigate grid pattern.
This post will show you in detail how to hire a bicycle, where to hire it from and see 3 amazing site in one day - starting at Kinkaku-ji (Golden Pavilion Temple), then Nijo-jo (Nijo Castle), Kyoto Gosho (Kyoto Imperial Palace) finishing with shopping and dinner in the city center - on a hired bicycle…
How to hire a bicycle in Kyoto
Starting at JR Kyoto train station
Front entrance of JR Kyoto station - the second largest train station in Japan and one of Japan’s largest buildings.
Get off the train, as a tourist you’ll probably be arriving by the bullet train using your Japan Rail Pass. Stash your bags in the hire lockers (they are clearly signposted and near the information desk and quite cheap to hire for the day).
Follow the signs to the north exit where you can catch a bus.
Stop 1: Kinkaku-ji (Golden Pavilion Temple)
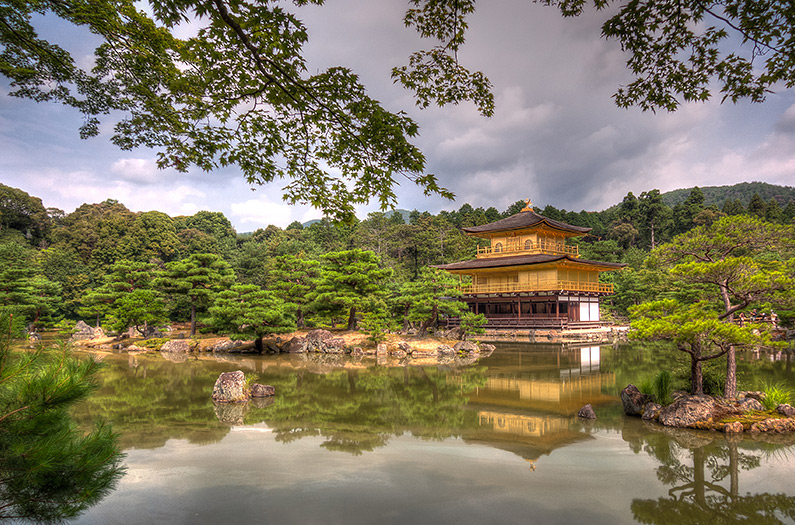
Panasonic DMC-LX3 (5.09mm, f/3.2, 1/500 sec, ISO80)
The typical tourist shot… in HDR.
The bus stop at Kyoto station is called “Kyotoeki-mae” - literally translated to Kyoto station (eki) front (mae).
Take the bus from Kyotoeki-mae to Kinkakuji-michi (Kinkakuji road). There are signs in English, you need to get on bus number 101 or 205.
When you get on the bus, enter via the rear-most door (usually at the middle of the bus). Just inside the door is a ticket, take a ticket as you get on. When you get off at Kinkakuji-michi, put your ticket and ¥220 into the machine beside the driver.
Remember the Kinkakuji-michi bus stop, as just across the road is where you will pick up your hire bicycle (a picture of the front of the bike hire place is below, you can actually see it from this bus stop).
Aim to get to Kinkakuji at 9AM. This is when the temple grounds open. The grounds are surprisingly small, so you’ll probably only spend about 30-45 minutes inside the temple grounds.
Related article: HD video and photos from my visit to Kinkaku-ji.
Stop 2: Collect your bike from the Kyoto Cycling Tour Project - Kinkakuji Cycle Terminal
Here’s the High Class Comfort hire bicycle outside the Kinkakuji Cycling Terminal (CT).
After exiting Kinkaku-ji, walk to to the Kinkakuji Cycle Terminal and pick up your bicycle.
Book your Kyoto bicycle hire online
Make a reservation before you arrive in Kyoto. Although the hire company’s website says you must have a booking between January 5 and March 15, make a booking whenever you are going to be sure you get a bike!
Make a booking through the Kyoto Cycling Tour Project’s website. It’s all in English and you don’t need to pay online (you pay when you pick up your bicycle). From KCTP’s Types of Bicycles Available to Rent page, choose which bicycle you’d like to hire and then click on the Booking Form button.
On the form, you’ll be picking up your bike from Kinkakuji CT and return it to Kyoto Station CT.
I hired the High Class Comfort bike. I prefer the comfort bikes because the front basket is very handy (and it’s not girly! I’m a guy and this is the standard type of bike in Japan).
The bikes have a built in lock for which you’ll be given the key. Pick up a map (for ¥100 if I remember correctly) and read the simple rules about riding and parking your bike.
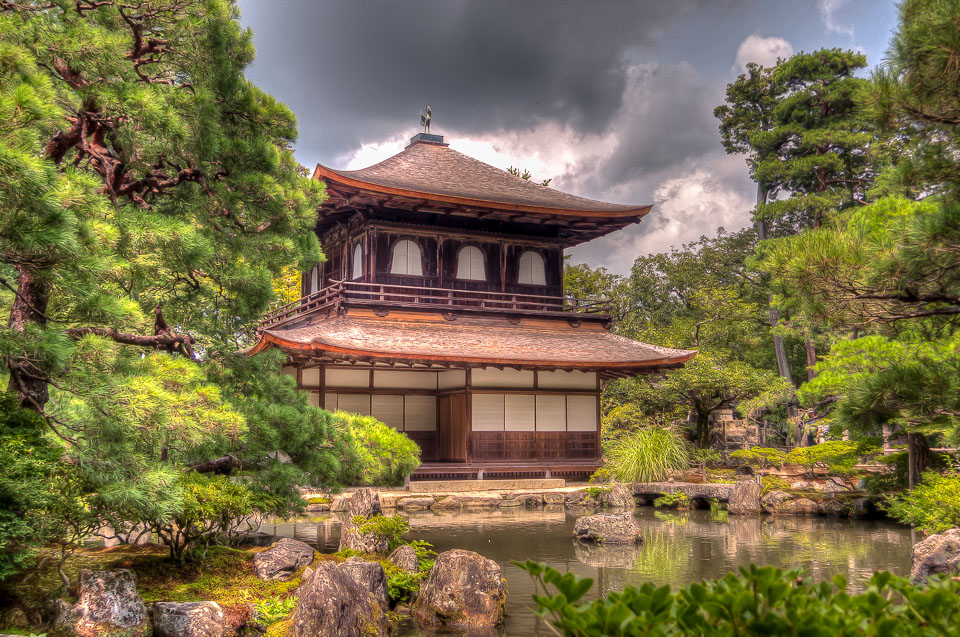
Stop 3: Nijo-jo (Nijo Castle)
From the hire cycle terminal to Kyoto’s castle Nijo-jo (click the link to see my visit with lots of photos) is about 4.5km and is a 30 minute ride. It’s basically all downhill and a very easy ride.
The route I’ve marked on the map takes you past a couple of shrines and temples if you’d like to see them on the way.
Near the entrance to the castle is a bicycle parking station. The parking fee is ¥200 for the day.
Take your time and look around Nijo-jo, the grounds and buildings.
Related article: my visit to Nijo Castle.
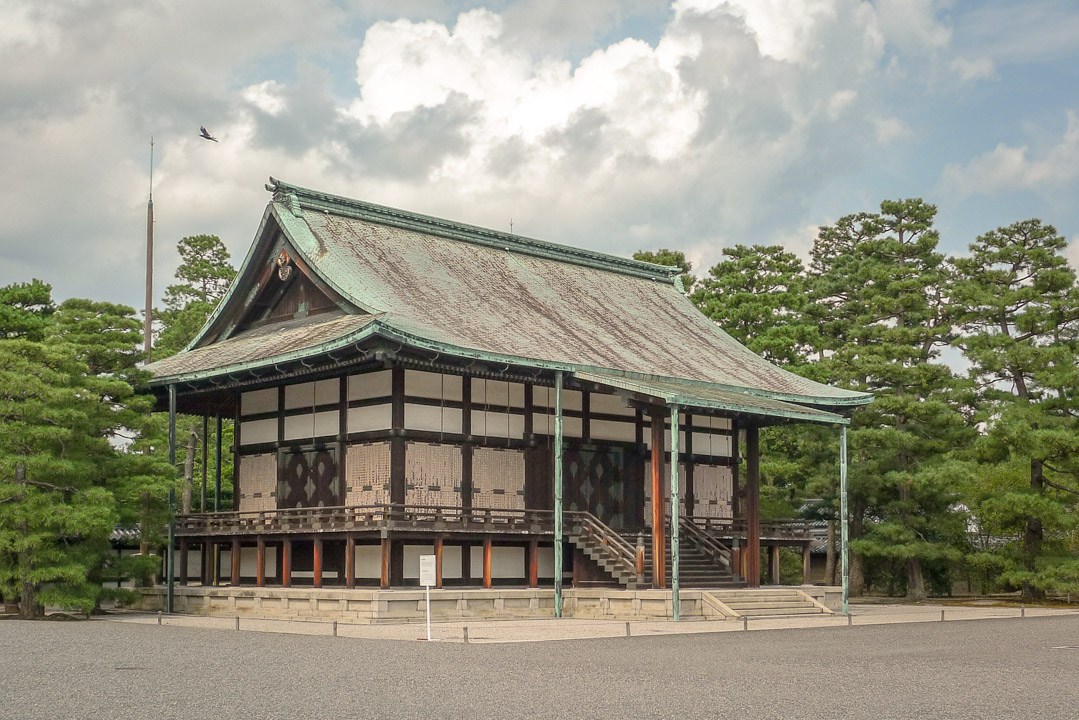
Stop 4: Kyoto Gosho (Kyoto Imperial Palace)
You can get a free English spoken tour of Kyoto Gosho (Kyoto Imperial Palace), but you must book your tour in advance. There are two ways to book the tour (be sure to have your passport/visa with you when you go to the tour):
- Book online: complete an application for visit. Follow the links and be sure to select the Kyoto Imperial Palace 60 minute English guided tour which starts at 2PM. There are a limited number of spots available to apply online, so if you miss out, you’ll have to go in person to the office next to the palace and make a booking before the tour.
- In person: visit the Imperial Household Agency Office in the northwestern corner of Kyoto Imperial Park to book your free tour. You can book anywhere from 3 months to 20 minutes in advance.
Important note: If you don’t get to book online and have to go into the office, you must book the tour in advance. I managed to ride straight from Kinkaku-ji to the Imperial Household Agency Office, book the tour, go visit Nijo Castle and then back to the Kyoto Imperial Palace for the tour.
From Nijo-castle, the route marked should take about 20 minutes. It’s probably about lunch time by now, so find something to eat at one of the many convenience stores along this route. Take your lunch and eat it in the Kyoto Imperial Park where there are lots of nice areas to sit on the grass and eat.
A general rule when parking your bicycle in Japan is not to obstruct pedestians. In the park grounds, most people park at the edge of the very wide gravel walkways, with their front tyres in the gutter. Another good rule is to park where you see lots of other bikes parked!
Related article: inside the free English tour of the Kyoto Imperial Palace.
Stop 5: Return you bike, then do some shopping or have dinner
When returning the hire bike, you’ll be bringing it back to a different location from where you picked it up. The Kyoto Station Cycling Terminal is right next to JR Kyoto station and will put you in the perfect place to do some shopping and grab some dinner.
Kyoto-gosho to Kyoto station. Note: time shown on map is for walking, you’ll go much faster by bike.
The ride back is 5km, but it’s really easy because it’s all downhill and you simply head south. It will take you 40 minutes or more depending on how slowly you go. You have to return your bike by 7PM.
Instead of taking the main roads, I suggest you take the smaller back streets. You’ll pass lots of mini-temples and shrines, unique old houses, specialty shops and any other number of surprises that you wouldn’t see if you stuck to the beaten tourist path. It’s difficult to get lost, the streets are straight and you just keep heading south. When you get close to Kyoto station there will be plenty of signs.
Once you’ve returned your bike, you can go shopping at Bic Camera, or the shopping area the other side of Kyoto Tower (the north side). Inside Kyoto station (on the upper floors, level 8 or 9 if I remember right) are some nice restaurants, I had some delicious cold soba (it was a hot and muggy summer day).
Alternate return routes
If you have time and are feeling energetic enough after your Kyoto Gosho tour, here are some alternative routes back to the Kyoto Station Cycling Terminal where you can visit another site:
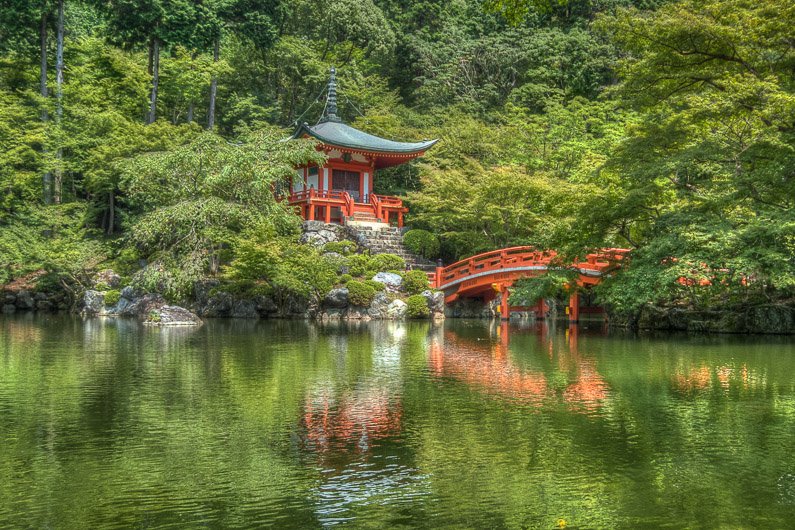
Spend a day seeing Kyoto by bike
- Kyoto Gosho to Shimogamo-jinja to Kyoto Station Cycling Terminal: This is the longest route back (over an hour, not including the shrine visit) but easily the best. Shimogamo-jinja (Shimogamo-shrine) is a World Heritage site and is free to visit. After visiting the shrine, you return to Kyoto station riding along the banks of the Kamo River.
- Kyoto Gosho to Gion/Kawara-machi area to Kyoto Station Cycling Terminal: More direct than visiting Shimogamo-jinja, this route takes you to the famous Gion area. Not including time spent in Gion, this will take just under an hour to ride. From Kyoto Gosho, riding along part of the Kamo River you arrive at a bridge between Kawaramachi and Gion stations.
- Kyoto Gosho to Hongan-ji to Kyoto Station Cycling Terminal: Hongan-ji (Hongan Temple) is another one of the 17 World Heritage sites in Kyoto. This is the most direct route, which takes you just a few blocks west of the original direct route from Kyoto Gosho to the Kyoto Station Cycling Terminal.
With a whole day of bicycle rental, the possibilities are endless!
Have fun and get lost
I’m the kind of traveler who is super prepared. I created the itinerary above and followed it closely when I hired a bicycle for the first time in Kyoto. After some dinner at Kyoto station, I took a bus to Kawaramachi station and stayed at the 9hours capsule hotel Kyoto.
But some of the best times I’ve had in Kyoto are just getting lost. If you collect your bike from Kinkakuji CT at 9AM, you then have until 7PM to explore Kyoto before returning it to the Kyoto station CT. Make the most of it, use your map and take the back streets.
Enjoy, and as always, if you need any advice don’t hesitate to ask!
Traveler’s tips
Buy the Kyoto city cycling map when you collect your bike from the Cycle Terminal, for two reasons:
- It explains in English the road rules of Japan and how to use and park your bike in Kyoto. If you park your bike in the wrong spot you could end up with a fine - or worse, having the hire bicycle impounded.
- The map is of very good quality and has many back roads you can ride through to get from site to site. You’ll have a lot of fun doing this - exploring a different side of Kyoto - and won’t get lost!

very detailed article, thank you! Kyoto is such a great city, so beautiful, I mean the old side of it and moving from one site to another by bike is definitively a good option to visit the city. This is the place where I first saw cyclists with an umbrella held on their bicycles, so cool!
Good read and instructional.. I will include this in my itinerary for nov trip… Hopefully it is not too cold to cycle then. Thanks.